Laser Cutting
General Information:
Laser cutting is the process of cutting a material using a laser beam. This can be done to either trim down a material or to help cut it into complex shapes that more traditional tools would struggle with.
The intensity, speed, and focus of the laser beam can be controlled to achieve different cutting depths and patterns, making it a versatile and precise tool for manufacturing, prototyping, and artistic applications.
To Laser cut, please bring your file to the Laser Cutting Room, it is located on Level 1, Room 126 (Structures Studio), Building 421 (School of Architecture and Planning).
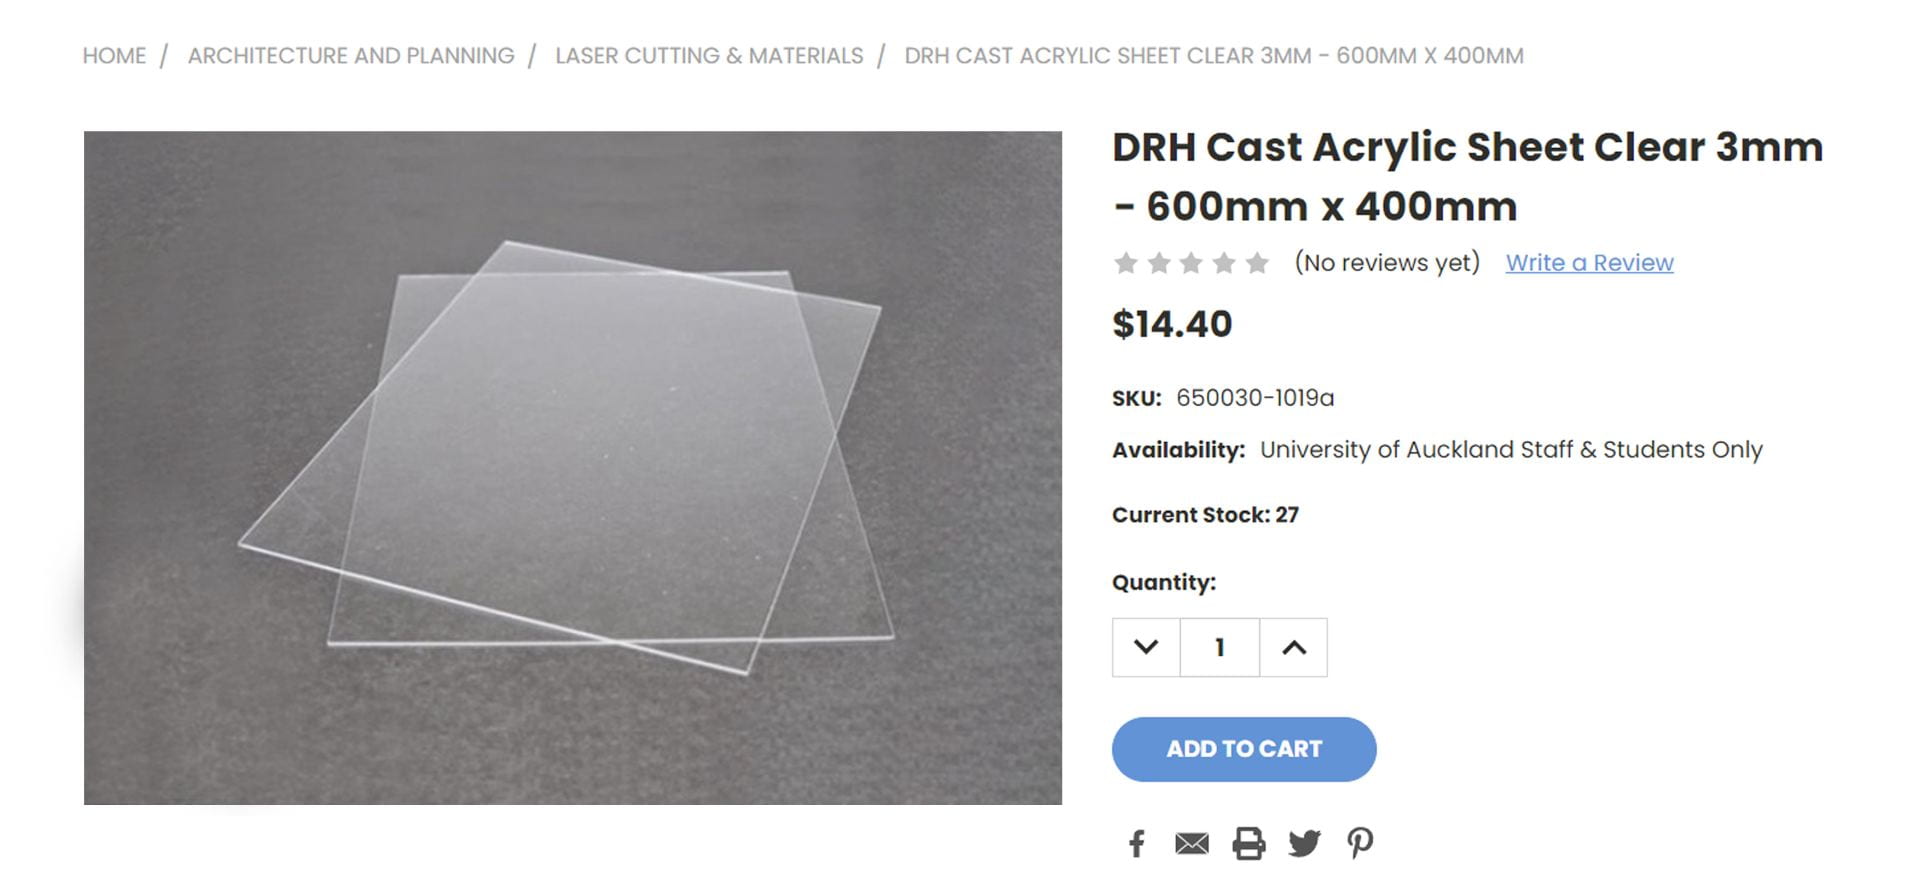
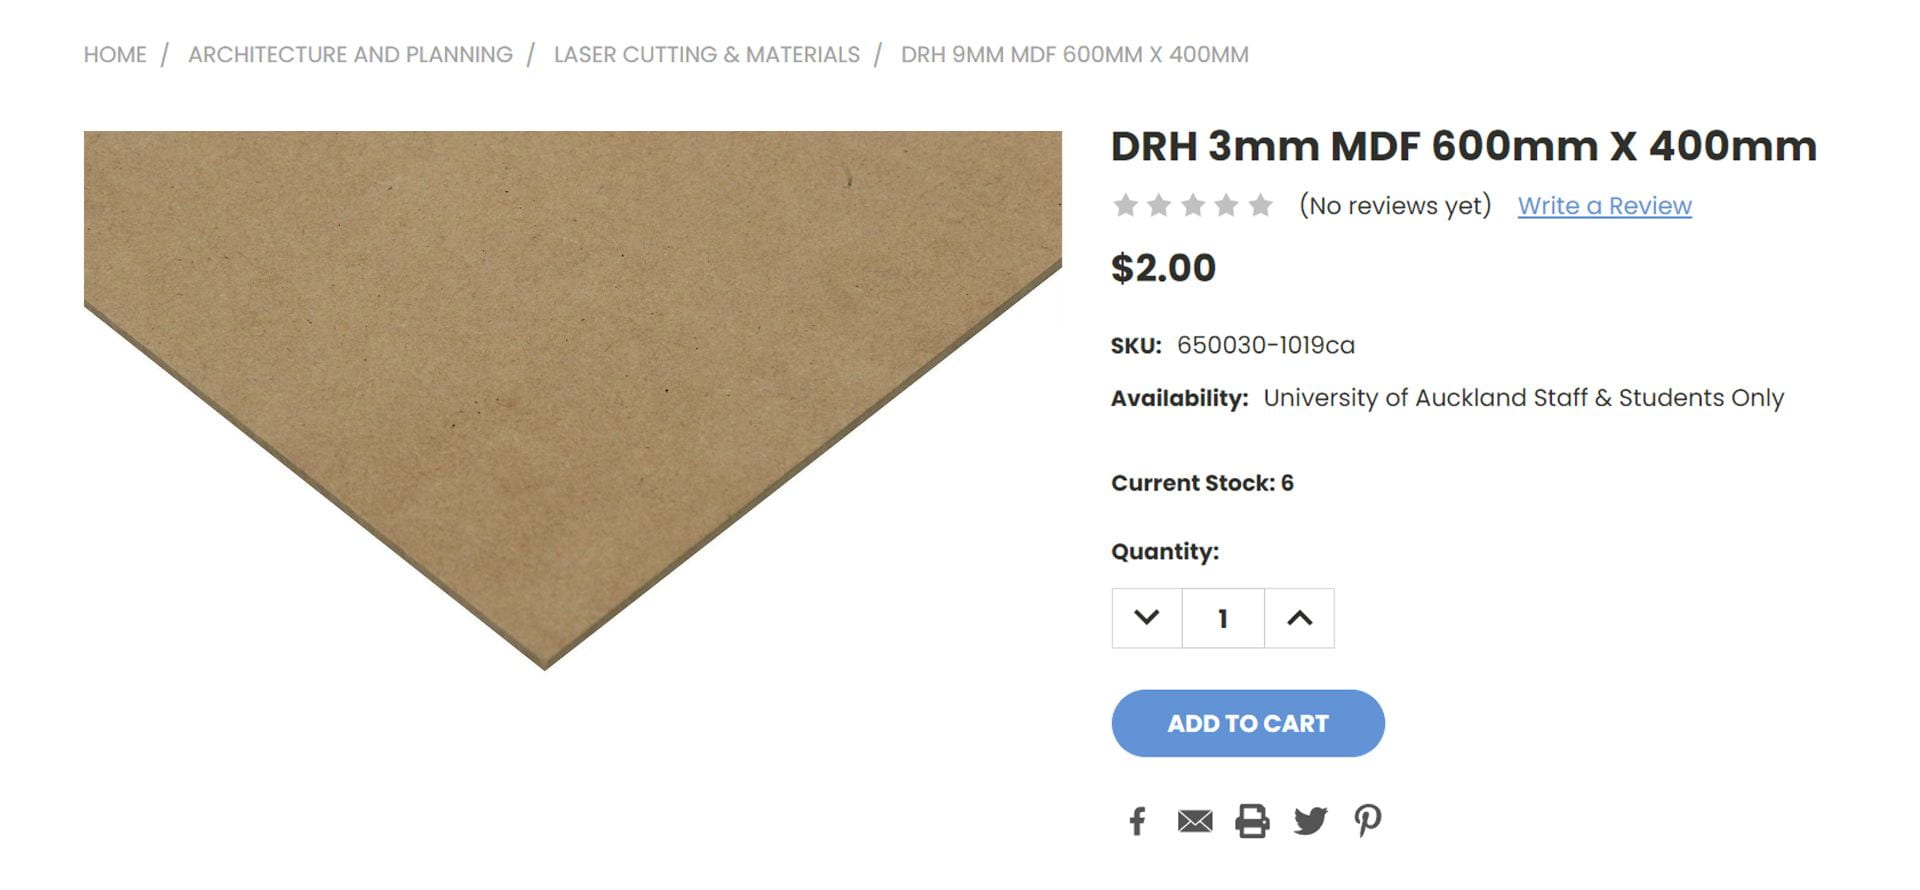
We do recommend to bring your own material to laser cut. However, we do have a small stock of MDF and Acrylic sheets that you can purchase. We have 3mm,6mm and 9mm thick MDF sheets, and we have 2mm and 3mm thick Acrylic sheets. All sheets are 600mm Length & 400mm Width.
Please check with us beforehand before planning to use our material, just so we can check if we have any sheets in stock.
Email for Laser Cutting: drh.lasercut@gmail.com
File format required: Adobe Illustrator File ( .ai )
Available Laser Cutters:
Small Laser Cutter – Working Area: 550mm (L) x 450mm (W)
Large Laser Cutter – Working Area: 850mm (L) x 550mm (W)
*Laser Cutting Jobs must fit within the Laser Cutters Working Area
*Each File must only contain one page of drawings
*Your material’s thickness must be between 0.1mm – 6mm. To cut material thicker than 6mm you will need to consult with us beforehand.
*Near the end of the Semesters, when it gets busy, there is usually a long queue for Laser Cutting (usually a 5-6 day queue). So make sure you bring your files in early.
File Preparation
Before submitting you files, please go over the following guidelines:
File format required: Adobe Illustrator File ( .ai ) OR Adobe Portable Document Format (.pdf)
– Create the artboard size to the same size as the material you are using (e.g 600x400mm).
– Units should be in millimetres.
– Document colour mode should be set in RGB mode.
– Laser Cutting Jobs must fit within the Laser Cutters Working Area
– Each File must only contain one page of drawings
Available Laser Cutters:
Small Laser Cutter – Working Area: 550mm (L) x 450mm (W)
Large Laser Cutter – Working Area: 850mm (L) x 550mm (W)
*Your material’s thickness must be between 0.1mm – 6mm. To cut material thicker than 6mm you will need to consult with us beforehand.
*Near the end of the Semesters, when it gets busy, there is usually a long queue for Laser Cutting (usually a 5-6 day queue). So make sure you bring your files in early.

Line Colours and Functions:
For Line Cutting please use BLACK Lines
RGB Values: R = 0 , G = 0 , B = 0
Line Thickness: 0.01mm
For Line Engraving please use GREEN Lines
RGB Values: R = 0 , G = 255 , B = 0
Line Thickness: 0.01mm
For Line +Fill Engraving please use RED Lines
RGB Values: R = 255 , G = 0 , B = 0
Line Thickness: 0.01mm

Cutting small parts and strips
– Any small parts under 10mm x 10mm without tabs will fall under the laser cut bed.
– If there are any small parts that you do want, please let the DRH staff know to add tabs into the objects or note them down on the print job sheet before handing us the material.
Tabs
– Tabs are used to allow small parts and strips to not fall out immediately through the laser cut bed when cutting. Tabs are often less than 0.5mm in thickness so they can be easily removed after.
– Tabs will show a slight indent on the part, so they are not recommended if you want to keep the cut as smooth and clean as possible.

Do not cut to the material’s edge
– Ensure that the cut lines are at least 5mm apart from the edge of the materials to allow for tolerances with the laser cutter / material.

Tidy up and Optimise Linework
– Check that there are no multiple lines that are overlapping each other. Don’t layout your line work separated from each other – Please organise the linework so they share one or more cut lines like the one below.

Name Files Accordingly
– When naming your file please make sure to include your UPI, Material Size & Thickness and the Type of Material.
e.g. jbon007_600x400_3mmMDF
e.g. jbon007_A3_2mmAcrylic
– If you want to cut the same file multiple times, please add it in brackets at the end.
e.g. jbon007_600x400_3mmMDF (x3)
– If you are submitting multiple files, please follow the format below
jbon007_600x400_3mmMDF_01
jbon007_600x400_3mmMDF_02
jbon007_600x400_3mmMDF_03
Embedding typography into a laser cut file (Adobe Illustrator)
– Select all the text that you would like to have cut / engrave / etched
– Object > Expand / Right Click > Create Outlines.
Note: You will not be able to make any changes to the text after the outline is created.
Exporting Linework into a laser cut file (Adobe Illustrator) from Rhino
– Export file as Adobe Illustrator (.ai)
– Ensure Preserve Model Scale is ticked. 1 millimeters = 1 mm.
– Colour mode should be RBG.
– Follow the checklist when preparing files for Laser Cutting.
| Colour Document Mode = RGB |
| Function Colours & Strokeweights have been set correctly. |
| Clipping Masks have been removed. |
| Artwork is positioned within the set document artboard AND are within the laser cut bed area. |
| Floating or Stray Points have been removed. |
| Dashed lines have been converted to individual lines / paths. |
| Duplicates and overlapping line have been removed from the document. |
| Text has been converted to outlines. |
– The following should NOT be present in any laser cutting file:
| Groups |
| Clipping Masks |
| Dashed or Dotted lines (Not Recommended) |
| Superimposed, double or duplicated lines |
| Artwork exceeding the Artboard area / Laser bed area |
| Type Objects |
| Incorrect Colours / Inconsistant Colours |
| Incorrect Strokeweight (Must be 0.01mm) |
*Your material’s thickness must be between 0.1mm – 6mm. To cut material thicker than 6mm you will need to consult with us beforehand.
*If you have a material you’re unsure about, please contact us beforehand so we can check.
Materials we DO cut:
– Acrylic Sheet
– Balsa Sheets
– Bamboo Veneer
– Brown Cardboard
– Card
– Cedar Sheet
– Felt
– Greymount Card
– Mat Board
– Paper
– Plywood
– PET/PETG
Materials we DON’T cut:
– Bare Metal
– Brass
– Carbon Fibre
– Corflute
– Epoxy
– Fibre Glass
– Foam Board
– Glass
– PVC
– Polystyrene
– Stainless Steel
– Stained Timber
– Titanium
– Treated Timber
– Vinyl
Costs and Payment
Laser Cutting is charged by Laser Cutting Machine Credits if you bring your own material. The amount of Credits is determined by how long it takes to cut your material. When your Laser Cutting job is done, you will be told how many Laser Cutting Credits to order.
Please don’t purchase more than the amount quoted, as refunds are not available.
If you use our Acrylic Sheets or MDF Sheets you will have to purchase the sheet itself on the Creative Store, and then purchase the given amount of Laser Cutting Machine Credits. Please go to the Creative Store to check the stock levels for our Materials.
All payment is done via the Creative Store. After making the payment, please show the receipt to the DRH staff or you can send an email to us with the receipt attached. All jobs must be paid before collection.
Email for Laser Cutting: drh.lasercut@gmail.com


